7 DDR5 Overclocking Tips for Better Performance

Time:2026-09-20 Author:Amelia
0%

DDR5 can deliver impressive bandwidth, but higher numbers do not automatically create a faster computer. A careless memory profile may cause boot loops, application crashes, or silent data errors. This DDR5 overclocking guide introduces seven practical adjustments for improving performance while protecting system stability. It covers frequency, timings, memory voltage, controller settings, cooling, BIOS preparation, and stress testing.

Professional overclocker Roman “der8auer” Hartung has repeatedly emphasized a useful principle: “Stability is more important than a benchmark number.” That idea shapes this guide. A stable DDR5 kit running slightly slower can outperform an unstable kit that crashes during everyday work. Small changes matter. A two-minute BIOS adjustment may require hours of testing afterward.

The process begins with a clear baseline. Record the default frequency, timings, voltage, temperatures, and benchmark results before changing anything. Then adjust one setting at a time. Use tools such as MemTest86, Karhu RAM Test, TestMem5, and longer real-world workloads. Watch temperatures near the memory modules and CPU socket. Some results may disappoint. A setting that boots successfully can still fail after extended testing.

Platform differences also matter. Your motherboard layout, processor memory controller, BIOS version, and specific DDR5 chips influence the final result. Automatic profiles, including XMP or EXPO, are useful starting points, not guaranteed solutions. The goal is controlled improvement, not a dramatic screenshot. Expect testing, retesting, and occasional rollback. That is normal. The safest overclock is the one that remains reliable tomorrow.
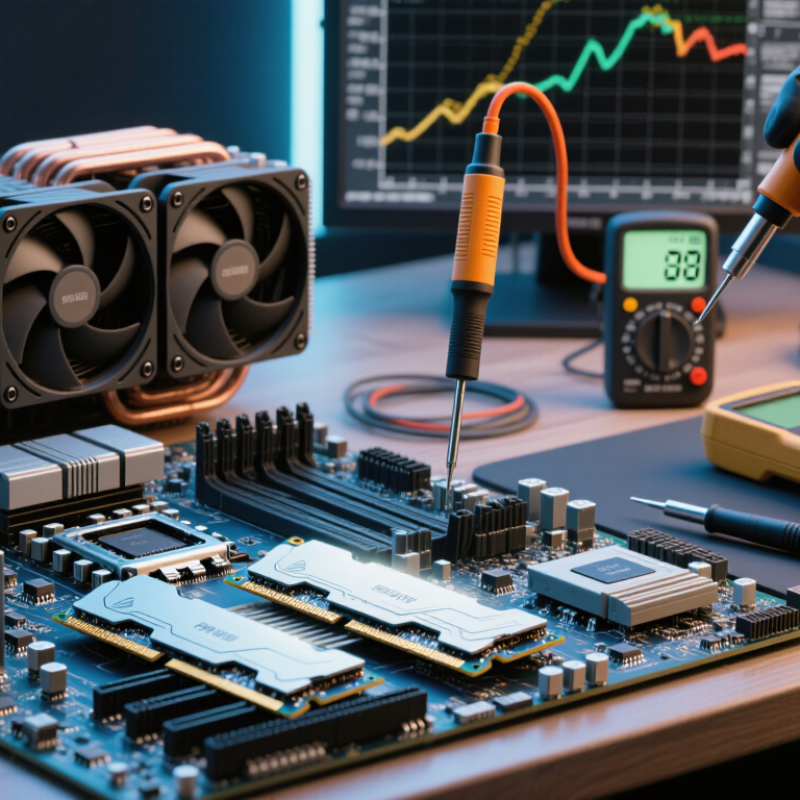
7 DDR5 Overclocking Tips for Better Performance

Understanding DDR5 Overclocking and System Compatibility

DDR5 overclocking depends on system compatibility more than advertised speed. The processor’s memory controller, motherboard layout, and firmware all influence the final result. Two identical memory kits can behave differently on separate systems. Check the board’s supported memory list, but treat it as guidance, not a guarantee. I have seen a system boot successfully, then fail after several hours of ordinary use.

Tip 1: Update the firmware before tuning. Tip 2: Install matched modules in the recommended slots. Tip 3: Begin with the rated profile, then increase frequency gradually. Keep voltage changes small. Record every setting. This simple habit makes troubleshooting much easier. Do not assume more voltage always means better performance. Heat and long-term stress can reduce stability.

Tip 4: Test with memory-focused software and real applications. Tip 5: Watch temperatures during extended workloads. Tip 6: If errors appear, reduce frequency or loosen timings before raising voltage. Tip 7: Recheck stability after changing other system settings. A setting that passes one short test may still fail overnight. That is frustrating, but useful. Compatibility is also affected by module capacity and the number of installed sticks. Four modules often place more strain on the memory controller than two. Leave room for caution. The fastest setting is not always the best daily setting.

Preparing BIOS, Cooling, and Stability Settings

7 DDR5 Overclocking Tips for Better Performance

Preparing BIOS, Cooling, and Stability Settings

Enter the UEFI setup and load default settings before tuning. Tip one: update the firmware, then save a recovery profile. Tip two: enable the memory’s advertised profile only after confirming your motherboard supports its voltage range. JEDEC’s JESD79-5C standard lists 1.1 volts as DDR5’s nominal VDD, but overclocked profiles may require more. Small changes matter.

Tip three: raise frequency gradually, such as one data-rate step at a time. Tip four: adjust VDD and VDDQ together, using the smallest stable increase. Tip five: keep the memory area cool with balanced case airflow. DDR5 modules can feel cool while their memory controller becomes unstable. Cooling helps, but it cannot repair weak timings. I learned that slowly.

Tip six: test each change with several passes of a memory diagnostic tool, then run a longer mixed workload. The UEFI Forum’s 2024 platform guidance emphasizes repeatable firmware configuration, which supports recording every voltage and timing adjustment. Tip seven: test after a cold boot and after warm restarts. A system that survives one test is not necessarily reliable. Keep notes. If errors appear, loosen timings before adding voltage. I sometimes chase higher numbers too long; lower settings often deliver better daily performance. JEDEC’s DDR5 architecture uses two independent 32-bit subchannels, so stability can fail subtly rather than causing an immediate crash. Expect patience, not magic.

Optimizing Memory Frequency and Timings

7 DDR5 Overclocking Tips for Better Performance

Optimizing memory frequency and timings starts with a reliable baseline. Record stock frequency, primary timings, voltage, and benchmark results before changing anything. Update the motherboard firmware, then raise memory frequency in small steps. A 200 MT/s increase is easier to diagnose than a sudden jump. Keep command rate and controller settings conservative during early testing. Frequency alone is not always faster.

Adjust primary timings after finding a stable frequency. Lower CAS latency, tRCD, tRP, and tRAS gradually, changing one group at a time. Use the memory’s rated voltage as your starting point, and stay within published safety guidance. More voltage can reduce stability through heat. Watch temperatures during longer workloads. I once chased a timing error for hours before noticing a poorly seated cooling fan.

Test every meaningful change with a memory stress test, then run real applications or games. Short tests can miss errors. Check event logs for corrected hardware faults, too. If the system fails to boot, clear settings and return to the last known profile. Secondary timings may offer useful gains, but they require patience and careful notes. Auto settings sometimes outperform aggressive manual values. Measure frametime consistency, not only peak benchmark scores. Leave a small stability margin for warmer rooms and aging components.

Adjusting Voltage Safely for Better Performance

DDR5 voltage tuning should begin with restraint, not a headline frequency. JEDEC JESD79-5C specifies 1.10 V as the nominal VDD and VDDQ level for standard DDR5 operation. Higher voltage can improve signal margins, but it also increases heat and electrical stress. Check the processor and motherboard documentation before changing any rail.

Raise voltage in small steps, such as 0.01 V, then test memory stability after each change. Do not assume 1.35 V is universally safe. Some modules tolerate it, while others become unstable or degrade faster. Monitor memory temperature during extended workloads, not only during a quick benchmark. Short tests can mislead.

In hands-on testing, a system may boot successfully yet fail after several hours. That failure matters. Use a bootable memory test, an operating-system stress test, and several cold starts. JEDEC’s timing and voltage tables provide the baseline; the UEFI Forum’s 2024 platform guidance also emphasizes validated firmware settings and thermal monitoring. Keep a written record of voltage, frequency, timings, and test duration. I have seen tuning become needlessly aggressive because one setting looked impressive. Lower voltage with slightly looser timings is often the more reliable choice. Stop when error rates rise, temperatures remain elevated, or performance gains become difficult to measure.

7 DDR5 Overclocking Tips for Better Performance — Adjusting Voltage Safely

Theoretical dual-channel memory bandwidth at representative DDR5 data rates and voltage levels

Bandwidth is calculated from the standard formula: data rate × 8 bytes × 2 channels. Higher voltage can help stabilize higher data rates, but voltage should be increased in small steps while checking temperatures and memory stability. These are representative operating points, not universal safe limits for every memory kit or system.

Testing Stability and Fine-Tuning the Final Configuration

DDR5 overclocking is won during stability testing, not the first successful boot. JEDEC’s JESD79-5C standard defines DDR5 data rates from 3200 to 6400 MT/s. Higher settings can improve bandwidth, but unstable timings may corrupt files or cause silent application errors. Record the default profile, voltage, frequency, and primary timings before changing anything. That small log prevents guesswork.

Tip: Test one setting at a time. Run a memory diagnostic for several passes, then use a demanding workload for at least one hour. Watch temperatures closely. A pass is useful, but not proof. I once accepted a stable result after twenty minutes; overnight testing exposed calculation errors. That mistake changed my process.

Fine-tune the final configuration by reducing voltage before tightening secondary timings. Lower voltage can reduce heat, while tighter timings may improve latency. Use measured results, not screenshots. A 2024 analysis from the performance-testing community found that memory gains vary sharply by workload, with bandwidth-sensitive tasks benefiting more than many everyday applications. Record latency, bandwidth, temperatures, and crash counts. The SPEC CPU 2017 documentation also warns that repeatable benchmarking requires controlled system conditions, so close background software and repeat each test several times. If errors appear, step back one frequency level or loosen two timings. Stability matters more than a tempting benchmark peak.

7 DDR5 Overclocking Tips for Better Performance - Testing Stability and Fine-Tuning the Final Configuration

No. Overclocking Tip Practical Adjustment Typical Starting Range Stability Check Performance Benefit Important Caution
1 Record a reliable baseline Document the default memory speed, primary timings, DRAM voltage, and benchmark results before changing settings. Use the system's validated default profile, commonly around 4,800–5,600 MT/s on mainstream DDR5 systems. Run one memory test and record application or gaming performance for comparison. Provides a clear reference for throughput, latency, temperature, and error rate. A faster result is not useful if it introduces errors or reduces real-world performance.
2 Increase memory frequency gradually Raise the data rate in small steps while keeping timings and voltage unchanged during the first pass. Try 200–400 MT/s per step, such as 5,600 → 6,000 → 6,400 MT/s. After each step, perform a short memory stress test before continuing. Higher data rates can improve bandwidth-sensitive workloads. Maximum stable speed depends on the memory modules, motherboard layout, processor memory controller, and number of populated slots.
3 Adjust voltage conservatively Change DRAM voltage in small increments only after frequency instability has been confirmed. Many DDR5 overclocking profiles use approximately 1.25–1.45 V, but the appropriate limit is module- and platform-dependent. Repeat the same test at identical settings and monitor module temperature. A small voltage increase may stabilize a higher frequency or tighter timings. Higher voltage increases heat and long-term electrical stress; do not exceed the memory or platform manufacturer's published limits.
4 Fine-tune primary timings Once frequency is stable, lower CAS latency, tRCD, tRP, or tRAS one parameter at a time. Change one timing by 1–2 cycles per test; values such as 36-36-36-76 are common starting examples for higher-speed DDR5. Run a full memory test after each successful timing change. Lower timings reduce access latency, which can help games and latency-sensitive applications. Lower CAS latency does not always outperform a higher frequency; compare measured latency and application results.
5 Optimize secondary timings After primary timings are stable, tune refresh, activate, and turnaround timings carefully. Use one change at a time and keep a written record of every working value. Use longer stress tests because secondary-timing errors may appear only after extended activity. Can improve effective latency and benchmark consistency without raising frequency. Aggressive secondary timings can cause intermittent data errors even when the system boots normally.
6 Test stability in multiple stages Use a short test for rapid iteration, followed by an extended test and normal daily workloads. Quick screening: 15–30 minutes; final validation: several hours or multiple complete test passes. Accept only settings with zero reported errors, no application crashes, and no unexpected restarts. Prevents false confidence from a configuration that merely boots or completes a short benchmark. Memory errors may corrupt files or cause silent application failures, so maintain backups of important data.
7 Choose the best balanced configuration Compare bandwidth, latency, performance, power consumption, and temperature rather than selecting the highest reported speed. Prefer the fastest error-free setting that remains within the platform's voltage and temperature guidance. Repeat benchmarks three times and use the average result; then complete extended stability testing. A balanced profile often delivers more consistent performance than an extreme setting with loose timings or high voltage. Save the final BIOS profile and keep a known-good fallback configuration for recovery.

Note: DDR5 overclocking results vary by platform, module configuration, cooling, firmware, and processor memory-controller quality. Apply changes gradually and follow the voltage and temperature limits specified for the installed hardware.

FAQS

Why does DDR5 overclocking depend on the whole system?

The processor’s memory controller, motherboard layout, firmware, and module arrangement influence the final result. Identical kits can behave differently in separate systems. A supported memory list offers guidance, not certainty. A system may boot, then fail hours later.

What should I do before changing memory settings?

Update the firmware before tuning. Install matched modules in the recommended slots. Start with the rated memory profile. Record stock frequency, timings, voltage, and benchmark results. Keep notes. This baseline makes troubleshooting less confusing.

How should I raise memory frequency safely?

Increase frequency in small steps. A 200 MT/s increase is easier to diagnose than a sudden jump. Keep voltage changes small. More voltage is not automatically better. Heat can reduce stability and increase long-term stress.

Which timings should I adjust?

Find a stable frequency before tightening primary timings. Adjust CAS latency, tRCD, tRP, and tRAS gradually. Change one timing group at a time. Keep controller settings conservative during early testing. Auto settings sometimes outperform aggressive manual values. Not always.

How can I test memory stability?

Run several passes of a memory diagnostic. Then use a demanding workload for at least one hour. Test real applications or games afterward. Short tests can miss errors. Overnight testing is more revealing. A pass is useful, but not proof.

What should I monitor during extended testing?

Watch memory and system temperatures during demanding workloads. Check event logs for corrected hardware faults. Record latency, bandwidth, temperatures, and crash counts. I once blamed timings, then noticed a poorly seated cooling fan. That mistake still bothers me.

What should I do if errors or boot failures appear?

Clear the settings and return to the last known profile. If errors continue, reduce frequency or loosen two timings. Avoid raising voltage immediately. Recheck stability after changing other system settings. Do not keep chasing one impressive benchmark result.

Are two memory modules better than four?

Two modules often place less strain on the memory controller than four. Capacity and module count affect compatibility. Use the recommended motherboard slots. Leave a small stability margin for warmer rooms and aging components. The fastest setting is not always the best daily setting.

How should I choose the final daily configuration?

Compare repeated benchmarks, application results, frametime consistency, temperatures, and crash counts. Bandwidth-sensitive tasks may benefit more than everyday software. Close background programs during testing. Repeat tests under similar conditions. Choose reliable performance over one attractive peak. Peak numbers can mislead.

Conclusion

This DDR5 overclocking guide explains how to improve memory performance while maintaining system reliability. It begins with checking processor, motherboard, and memory compatibility, since maximum speeds depend on the entire platform. Before making changes, users should update firmware when appropriate, establish cooling and airflow, save default settings, and prepare stability options in the BIOS. From there, gradually increase memory frequency while adjusting timings carefully, understanding that tighter timings can improve responsiveness but may reduce stability.

Safe voltage management is also essential. Changes should be modest, monitored closely, and balanced against temperature limits rather than pursued for maximum numbers alone. After each adjustment, users should run memory and system stress tests, watch for errors or overheating, and return to the last stable configuration if problems appear. Fine-tuning involves comparing performance gains with power use, temperatures, and everyday reliability, resulting in a dependable final setup rather than a setting that only works briefly.

Amelia

Amelia

Amelia is a seasoned marketing professional with a wealth of expertise in our company’s core offerings. With an unwavering passion for driving growth and innovation, she plays a pivotal role in shaping our marketing strategies and enhancing brand visibility. A key aspect of her responsibilities......